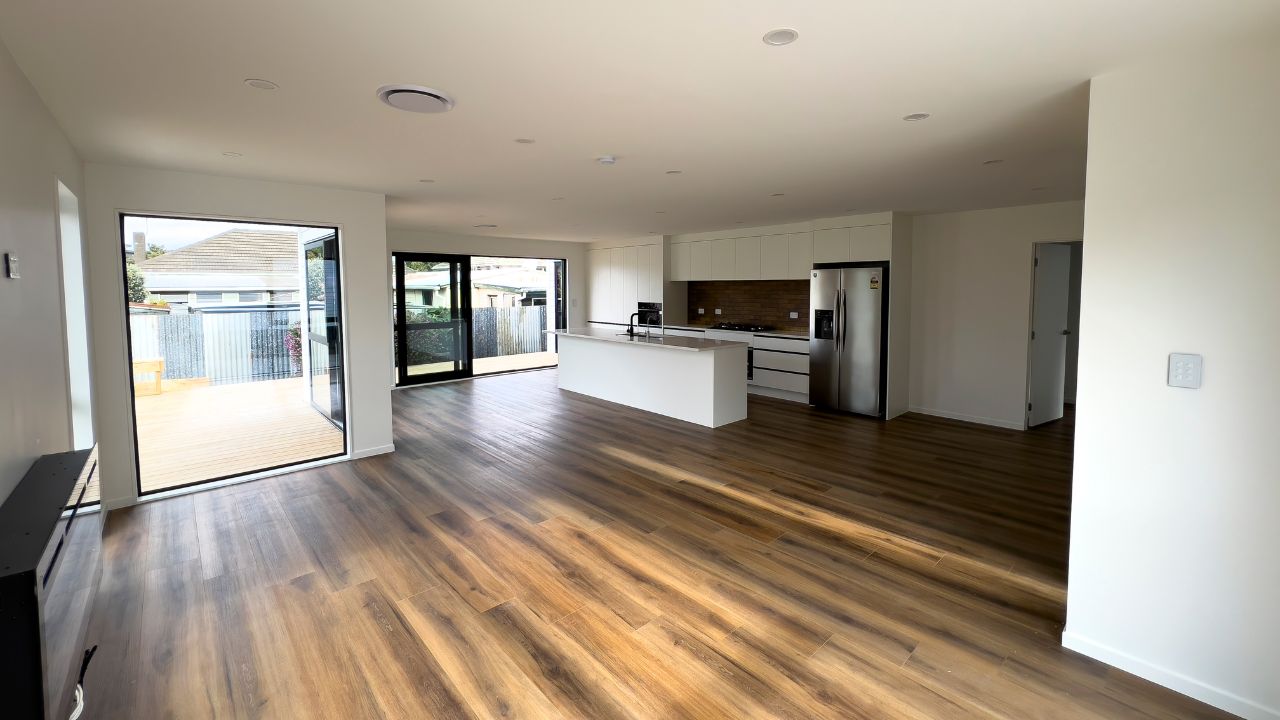
Renovating your home is an exciting opportunity to create a space that truly suits your lifestyle, taste, and future needs. But without the right planning, it can also become overwhelming—especially when costs start climbing or unexpected issues pop up. That’s why a clear renovation checklist is essential for any homeowner considering a remodel or full home makeover.
Whether you’re upgrading a single room or transforming an entire property, this comprehensive checklist will guide you through the renovation process from start to finish.
1. Define Your Renovation Goals
Before choosing paint colours or knocking down walls, step back and ask: Why am I renovating?
Are you looking to:
- Modernise an outdated layout?
- Add value before selling?
- Create more usable space?
- Fix long-standing structural or cosmetic issues?
Having clear goals will help you make better decisions, avoid unnecessary costs, and stay focused on what really matters throughout the project.
2. Set a Realistic Budget
Budgeting isn’t just about deciding how much you’re willing to spend. It’s about factoring in:
- Materials and labour
- Permits and professional fees
- Contingency buffer (10–20% for unforeseen expenses)
- Furnishings and post-renovation clean-up
Be honest with your budget. A professional renovation company can help you understand what’s achievable within your range and provide a fixed-price quote so there are no surprises later.
3. Choose the Right Team
A successful renovation often comes down to having the right people on your side. Depending on the scope, this might include:
- A licensed renovation company or builder
- An architect or designer
- Structural engineers (for major changes)
- Electricians, plumbers, and other trades
Look for qualified professionals with experience in the type of renovation you’re planning. For peace of mind, always check for guarantees like the Master Builders Guarantee and ask for examples of past work.
4. Plan the Timeline
Renovations can take anywhere from a few weeks to several months. Your timeline will depend on factors like:
- The size and complexity of the project
- Material availability
- Council consent requirements
- Whether you’ll be living in the home during the work
Map out your start and end dates, but allow some flexibility. Delays can happen—especially in older homes where surprises are common.
5. Get the Necessary Consents
In New Zealand, many structural changes require consent from your local council. This applies to:
- Changes to load-bearing walls
- Plumbing and drainage alterations
- New extensions or additions
- Significant electrical work
Working with a reputable renovation company ensures these approvals are handled correctly and legally, preventing costly headaches down the track.
6. Finalise the Design
Once your goals, budget, and timeline are in place, it’s time to lock in the design. This includes:
- Floor plans and layouts
- Fixtures, fittings, and finishes
- Kitchen and bathroom designs
- Lighting and electrical plans
- Colour schemes and flooring choices
Good design isn’t just about looks—it should also improve flow, maximise space, and suit how you live day to day. Don’t rush this step.
7. Prepare Your Home
Before work begins, prep your home to minimise disruption and keep belongings safe:
- Clear out the renovation area
- Cover furniture or move it to storage
- Set up a temporary kitchen or bathroom if needed
- Notify neighbours about potential noise or disruptions
If you’re staying onsite during the renovation, plan for how you’ll navigate the space while work is ongoing. In larger projects, it might make more sense to temporarily move out.
8. Construction Begins
This is where your vision starts becoming reality. The renovation typically rolls out in the following phases:
- Demolition – Removal of old fixtures, walls, flooring, etc.
- Structural work – Framing, foundations, and major building tasks
- Rough-in – Plumbing, electrical, and HVAC installations
- Inspections – Council or third-party checks (if required)
- Wall linings and flooring – GIB board, tiles, timber floors, etc.
- Fit-out – Cabinets, vanities, light fittings, tapware, etc.
- Final painting and finishes
- Clean-up and handover
Communication is key during this phase. Stay in regular contact with your renovation team to ensure everything is progressing as planned and address any issues quickly.
9. Quality Check and Sign-Off
As the renovation nears completion, go through the finished work carefully with your builder:
- Check that all work matches the design and specs
- Ensure electrical and plumbing fixtures are functioning correctly
- Look for cosmetic defects (paint runs, scratches, chipped tiles)
- Test windows, doors, and appliances
- Request copies of warranties and compliance certificates
Don’t be afraid to speak up if something isn’t right. A good renovation company will fix issues promptly and ensure you’re happy before signing off.
10. Post-Renovation Clean and Furnish
Once the dust has settled—literally—it’s time to clean up, move back in, and enjoy your upgraded space:
- Book a professional builder’s clean (worth it for the dust!)
- Arrange furniture delivery or reposition existing items
- Set up utilities and internet if disconnected during the build
- Decorate and add personal touches to make it feel like home
If your renovation involved major structural changes or extensions, your builder may also schedule a final inspection with council for Code Compliance.
Final Thoughts
A home renovation isn’t just about creating a better-looking space—it’s about improving how you live. With the right planning, team, and communication, your project can be a smooth and rewarding experience.
At Complete Home Renovations, we guide Auckland homeowners through every stage of the renovation process, from initial concept to final handover. With fixed price contracts and the Master Builders Guarantee, you can feel confident knowing your investment—and your home—are in trusted hands.
